Honor Home | New Honors | Arts & Crafts | Health & Science | Household Arts | Nature | Outdoor Industries | Outreach Ministry | Recreation
Weaving Honor Requirements

Below are links to websites with ideas of projects that can be used to teach the weaving honor. Do a search on 'weaving', 'branch' weaving', 'teaching kids to weave', etc.
Instructions on how to use a cardboard box as a loom.
Instructions on how to use a cardboard box as a loom.
|
|
Weaving on a 2-inch hand loom.
Weavette Hand Loom These are small hand looms that have been around for a number of years. eLoomanation Website with information on the small hand looms, including the history, how to use, old project patterns, and ideas. Great information. |
Weaving a small coaster
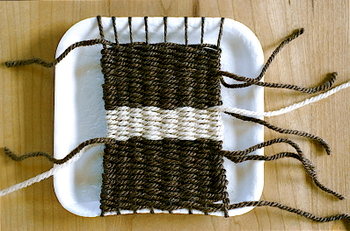
Weaving - Here is a tutorial that shows you how to make a small weaving using a tray (such as a meat tray) to make a small weaving. Easy and practical!
|
|
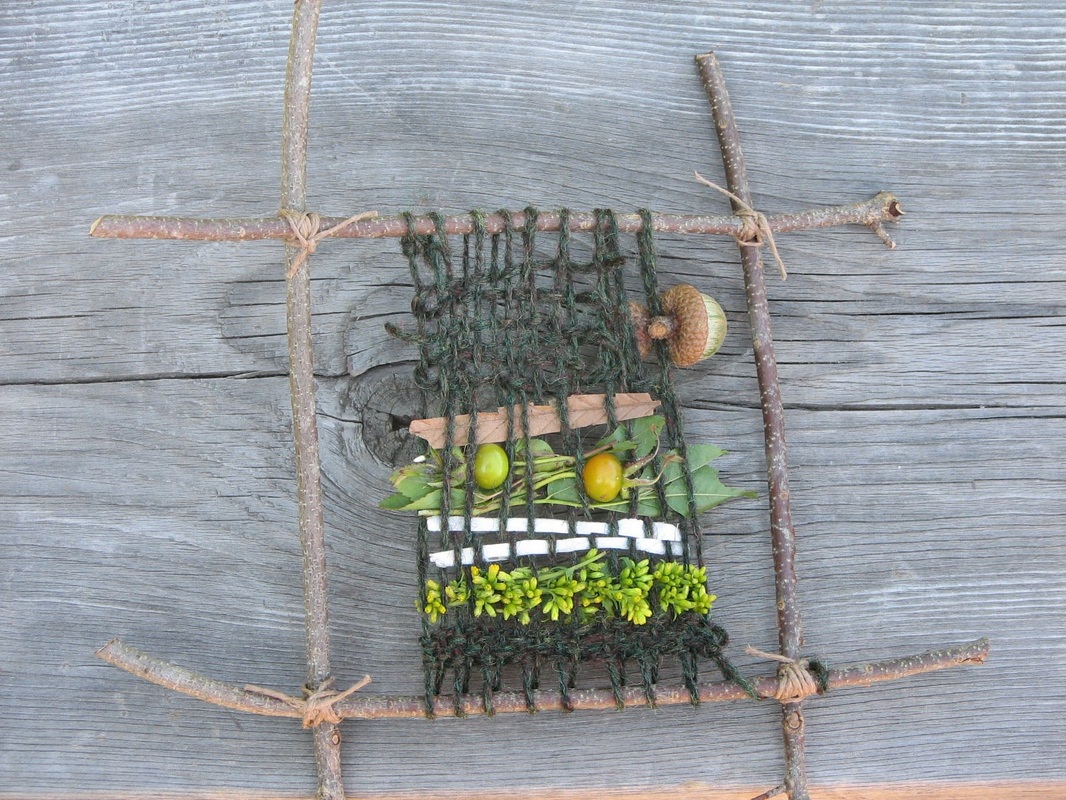
Branch Weaving
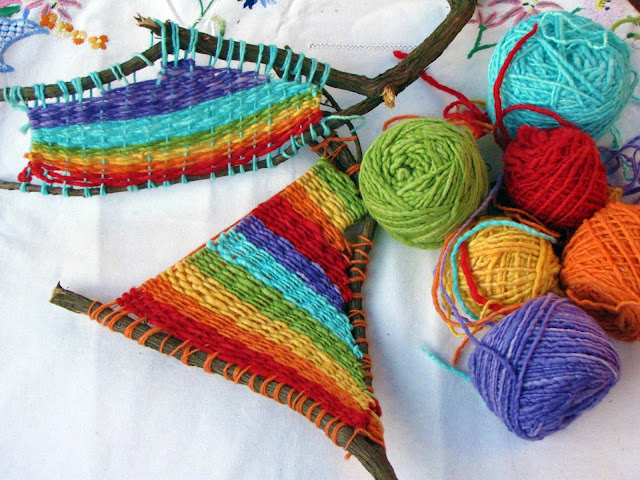
This link is to a tutorial on how to make a beautiful weaving using branches. What fun the Pathfinders would have picking their branches, choosing colors and making something like this! |
|
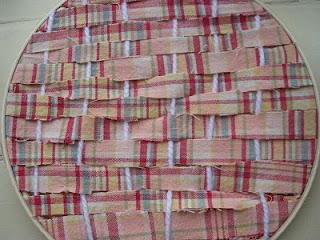
Weaving on a Cardboard Loom
Excellent video showing how to weave. Other videos by the same author Weaving on a Cardboard Loom Primary Weaving Fast Weaving |
How to Weave on a Cardboard Loom - shows how to weave and make place mates, coasters, hats, bags - use your imagination.
Miniature Weaving - could be used to make a key ring Weaving Tutorial - natural weaving using sticks for the top and bottom - no loom required. |
Natural Weaving
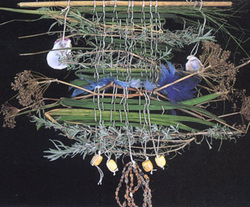
Here is a link to a photo of a very large natural weaving that could be a group project. Natural Weaving
|
Branch Weaving - could also be used as part of the Native American Lore honor is made with natural materials.
|
|
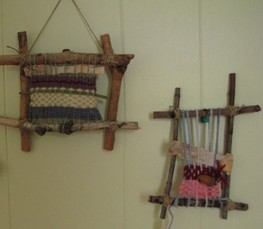
Simple Weaving ideas - have the Pathfinders lash together a square of sticks and use them to weave a small wall hanging.
|
Landscape Weaving
Materials
Warping the Loom
"Warp" refers to the supporting vertical threads stretched withing the metal hoop. Use a fine, tightly twisted yarn in a neutral color for the warp. If the warp is the same color as your wall, it will "disappear," leaving the woven landscape to "float" on the wall.
At the left side of the hoop, slightly above the horizontal center, slide the crochet hook on the back through one strand of the yarn that covers the metal hoop. Loop the warp yarn around the hook and pull the loop to the inside of the hoop. Enlarge this hoop enough to pass the ball of warp yarn through it; pass the ball over the front of the hoop and through the loop. Holding on to the loose end of yarn on the outside of the hoop, pull the inside piece to tighten the loop. this fastens the warp yarn to the hoop. this is the only place you will pass the yarn over the front of the hoop to secure. All other warps are fastened only to the ridge of yarn in the following manner. Working from the back of the hoop, loop the yarn around the hook and pull the loop to the inside. Enlarge the loop and pass the ball through it from back to front.
Repeat this procedure across the width of the hoop to secure the warp yarn to the ridge of yarn covering the metal hoop. All warp yarns should be 1/4 inch apart. Keep an even tension on the warp threads, but do not pull them so tautly that they will distort the hoop. When all warp threads are in place, adjust the tension if necessary. Then knot the ends of the warp to maintain the even tension.
Weaving with Grasses
With the hoop on a flat surface, position the grasses in a pleasing composition. For a good design balance, avoid placing grasses in the exact center of the circle. Gently weave the grasses in and out of the warp yarns to hold them securely in place. You may need to use a tiny drop of clear drying glue on the warp to hold a seed head upright.
Weaving the Landscape
The foreground, mountain line, and clouds in the weaving not only introduce a three-dimensional depth to the weaving, but they help to firmly hold the vertical grasses in place. With a tapestry or yarn needle, weave the foreground in a light color, encasing the ends of the grasses in the close weave. When you reach the end of one piece of yarn, pull the loose end to the back of the weaving. Knot it on the back side to a second piece of yarn and continue weaving.
Since dark colors recede, the mountain line should be woven in a darker colored yarn than the foreground so that it will appear to be farther away. Considered using mohair or a similar fuzzy yarn for the clouds for a light, airy texture.
- Large metal hoop
- Multi-ply, medium-weight yarn for wrapping hoop
- Multi-ply, fine yarn for warp
- Dried grasses such as wheat, rye, broom corn, oats or broom sedge
- Clear glue
- Assorted textures and colors of yarn for weft (landscape)
- Crochet hook
- Tapestry or yarn needles sized for the yarns chosen
- scissors
Warping the Loom
"Warp" refers to the supporting vertical threads stretched withing the metal hoop. Use a fine, tightly twisted yarn in a neutral color for the warp. If the warp is the same color as your wall, it will "disappear," leaving the woven landscape to "float" on the wall.
At the left side of the hoop, slightly above the horizontal center, slide the crochet hook on the back through one strand of the yarn that covers the metal hoop. Loop the warp yarn around the hook and pull the loop to the inside of the hoop. Enlarge this hoop enough to pass the ball of warp yarn through it; pass the ball over the front of the hoop and through the loop. Holding on to the loose end of yarn on the outside of the hoop, pull the inside piece to tighten the loop. this fastens the warp yarn to the hoop. this is the only place you will pass the yarn over the front of the hoop to secure. All other warps are fastened only to the ridge of yarn in the following manner. Working from the back of the hoop, loop the yarn around the hook and pull the loop to the inside. Enlarge the loop and pass the ball through it from back to front.
Repeat this procedure across the width of the hoop to secure the warp yarn to the ridge of yarn covering the metal hoop. All warp yarns should be 1/4 inch apart. Keep an even tension on the warp threads, but do not pull them so tautly that they will distort the hoop. When all warp threads are in place, adjust the tension if necessary. Then knot the ends of the warp to maintain the even tension.
Weaving with Grasses
With the hoop on a flat surface, position the grasses in a pleasing composition. For a good design balance, avoid placing grasses in the exact center of the circle. Gently weave the grasses in and out of the warp yarns to hold them securely in place. You may need to use a tiny drop of clear drying glue on the warp to hold a seed head upright.
Weaving the Landscape
The foreground, mountain line, and clouds in the weaving not only introduce a three-dimensional depth to the weaving, but they help to firmly hold the vertical grasses in place. With a tapestry or yarn needle, weave the foreground in a light color, encasing the ends of the grasses in the close weave. When you reach the end of one piece of yarn, pull the loose end to the back of the weaving. Knot it on the back side to a second piece of yarn and continue weaving.
Since dark colors recede, the mountain line should be woven in a darker colored yarn than the foreground so that it will appear to be farther away. Considered using mohair or a similar fuzzy yarn for the clouds for a light, airy texture.
